English
 русский
 Français
 Español
 عربى
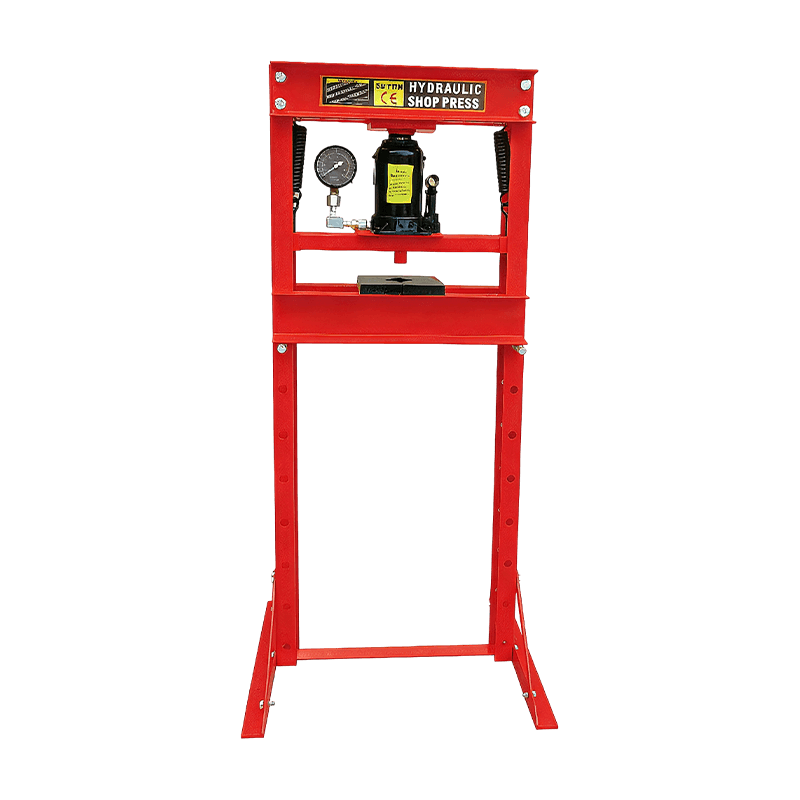
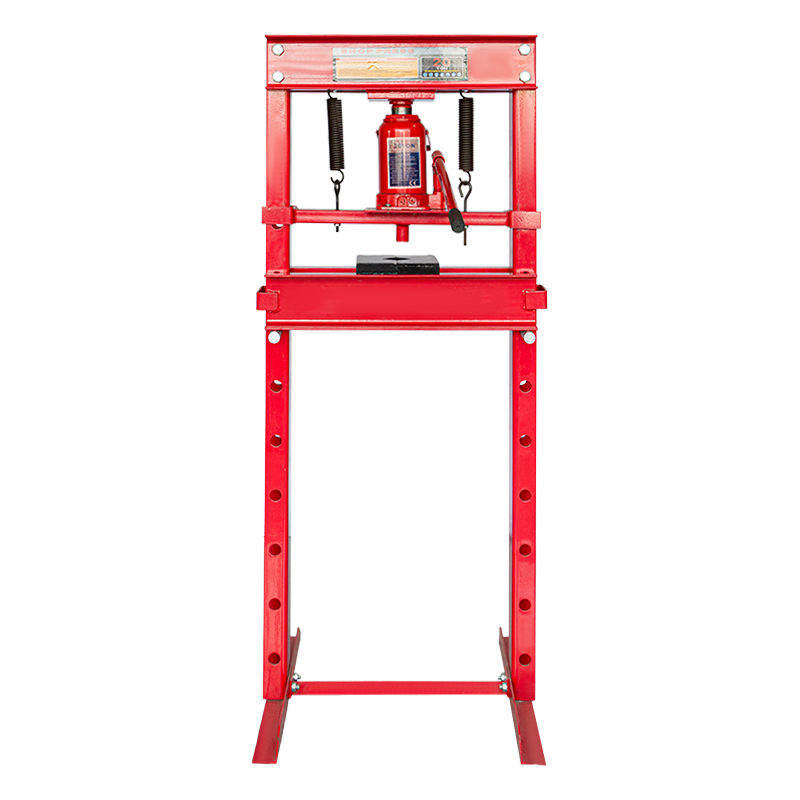
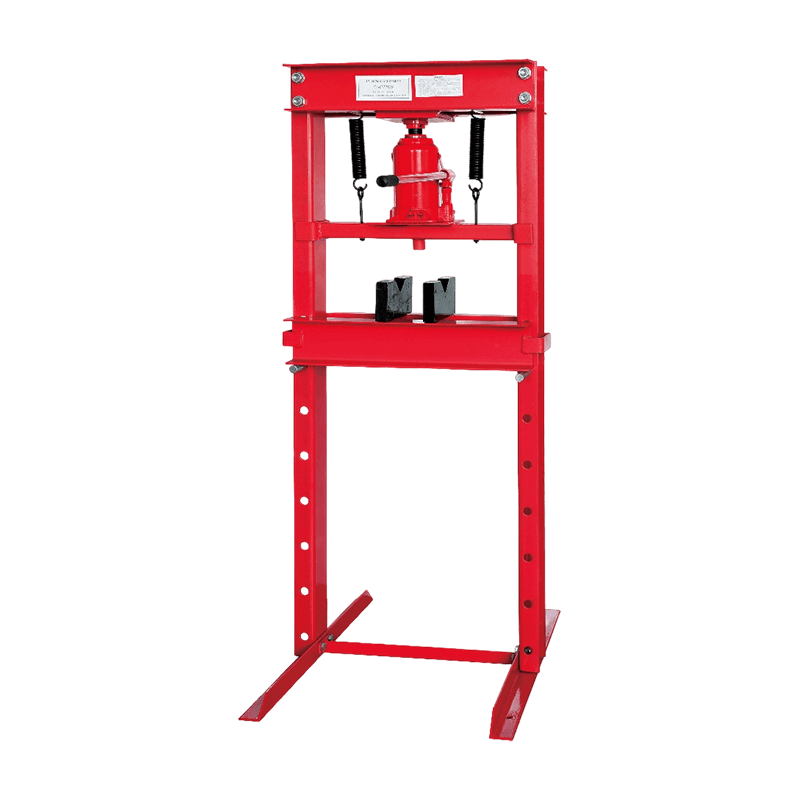
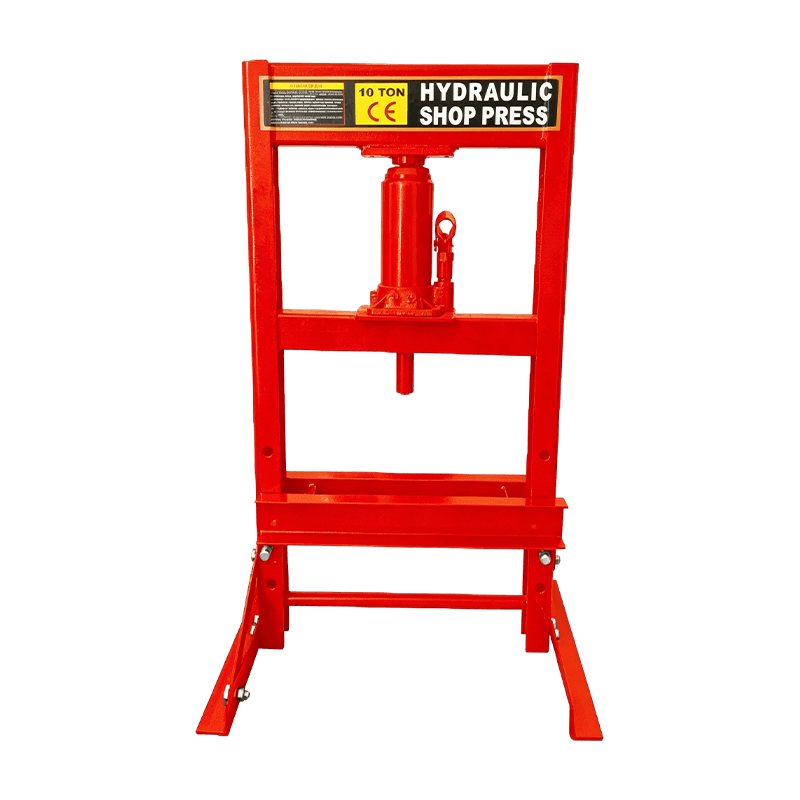
OY2020A-G 20Ton floor-standing Hydraulic Shop Press
OY2020A-G 20Ton floor-standing Hydraulic Shop Press featuring a frame geometry that provides unobstructe...



Home · News · Industry News · Tyre Changer Buying Guide: Types, Specs and Costs for Your Shop
Content
For most independent garages, a semi-automatic swing arm tyre changer with a helper arm is the safest first purchase. It handles the bulk of passenger-car work, costs far less than premium machines and is simple to repair. Move up to a tilt-back or leverless model only if you regularly fit low-profile, run-flat or high-value alloy wheels, or if you fit more than roughly 15 to 20 sets a week.
The table below shows where each type usually fits best.
| Type | Best For | Speed | Wheel Damage Risk | Relative Cost |
|---|---|---|---|---|
| Swing arm | General garages, mixed workload | Moderate | Moderate, lower with a helper arm | Low |
| Tilt-back | Busy shops, larger wheels | Faster | Moderate | Medium |
| Leverless | Alloys, run-flats, premium vehicles | Fast once the operator is trained | Lowest | High |
All three designs do the same job, which is breaking the bead, then demounting and mounting the tyre. The differences show up in setup time, operator skill and how kindly the machine treats the wheel.
The swing arm carries the mounting head and pivots out of the way for loading. It is the most common design in small garages because it is affordable and has few moving parts. The drawback is that the arm usually has to be locked into position for each wheel size, which adds a few seconds per job and a small chance of setting it wrongly.
On a tilt-back machine, the tower folds backwards instead of swinging aside, so the head clears the wheel quickly without manual adjustment. Shops with steady traffic like it because the time saved per wheel adds up over a full day. It does cost more than a swing arm model, and it needs a little more floor space behind the machine.
Leverless machines use a rotating disc or rubber-coated tool in place of a metal lever, so nothing prises against the rim edge. That is why they suit expensive alloys and stiff run-flat sidewalls. The trade-off is the price and a learning curve, so budget a few days of supervised practice before technicians use one on customer wheels.
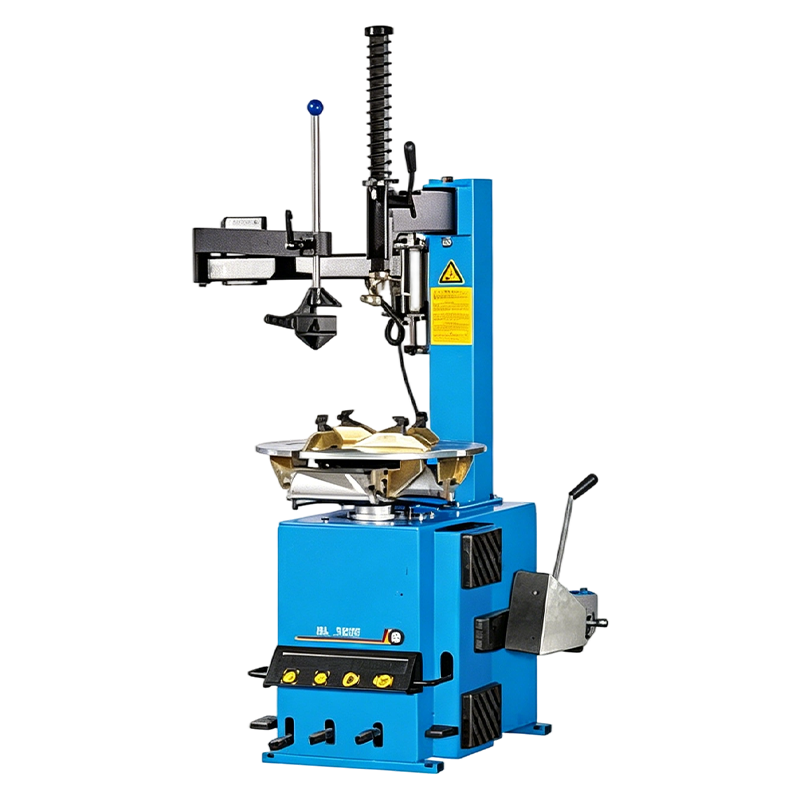
Brochures list dozens of figures. Only a handful affect what you can fit and how safely you can fit it.
Stiff sidewalls are the main reason tyres and rims get damaged during fitting. Without a helper arm, the technician muscles the bead over the rim with levers, which risks scuffed alloys and torn beads. A helper arm holds the bead in the drop centre so the mounting head can do the work with far less force.
Because low-profile fitments are now standard on many new cars, a machine without a helper arm, or at least an option to add one, will limit the work you can accept. A single scratched alloy can cost more to refinish than the price difference between a basic and a helper-arm model.
A tyre changer is only as good as the compressed air behind it. Most machines need a working pressure of around 8 to 10 bar (116 to 145 psi) to drive the bead breaker and turntable properly. An undersized compressor will leave the bead breaker sluggish and the compressor running constantly.
The sticker price is only part of the story. As an example of entry pricing, current UK listings show a new 26-inch fully automatic machine with a triple assist arm at around £1,980, while leverless designs generally sit well above that. Training time, spare parts and downtime also belong in the budget.
| Cost Area | What to Check | Typical Impact |
|---|---|---|
| Purchase price | Helper arm, clamping range and delivery included | Largest single cost |
| Consumables | Mounting head inserts, jaw covers, bead breaker pads | Small but recurring |
| Installation | Floor bolting, air line, electrical connection | Minor to moderate |
| Training | Operator practice time, especially on leverless models | Lower damage claims |
| Support and spares | Warranty length and local parts availability | Avoids long downtime |
Most breakdowns trace back to moisture in the air line, worn plastic parts or neglected lubrication. A short routine prevents nearly all of them.
Kept up consistently, these habits cost minutes per week and can add years to the machine’s working life.